And a bit of data here, a bit of data there! Here a data, there a data! Everywhere data, data…….! (Read with Old McDonald had a farm tune)
Though MS Excel has been developed to handle data, it also flexes its muscles around making those in a more presentable manner.
Having only data will make no difference between a text file viewed through a Notepad & a spreadsheet viewed through MS Excel. What MS Excel offers is a bag full of formatting features which greatly help in comparing & contrasting the data from one another.
But at times, there might be a necessity to rip the data off these features and just to have them as is. In this article, one such feature is going to be explored, specifically removing its presence! The lines running up, down & across that help to differentiate one cell from another is the subject of choice for this article. These lines are called ‘Borders’ and let’s get on with the ways to remove them.
- Using the Home Tab
- The Hotkey Technique
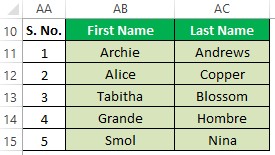
Following is the dataset that shall be used to demonstrate removing borders using each of the above techniques.
Method 1 – Using the Home Tab
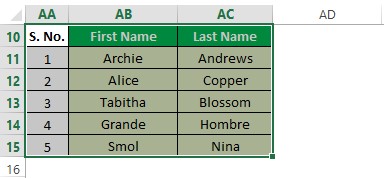
One would be needing to rely much upon the mouse in this technique. Before getting things started, select all the cells whose borders are to be removed as shown below.
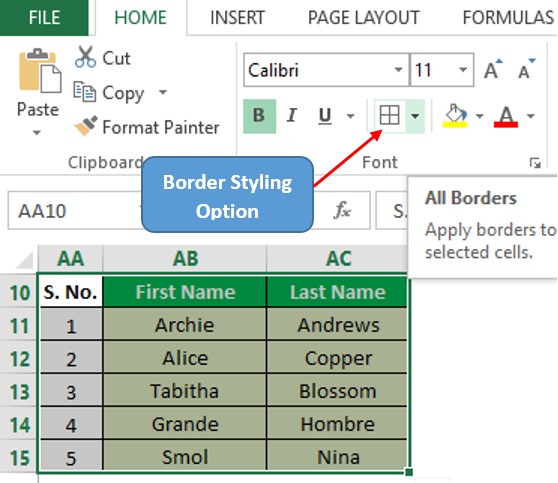
Now it’s time to use the mouse. Move the cursor until it reaches the ‘Font’ section of the Home tab. Within this section, there shall be an option for the ‘Borders’ which can be located as shown below.
Click on the icon & a drop-down list with a number of different border styles shall appear as shown below.
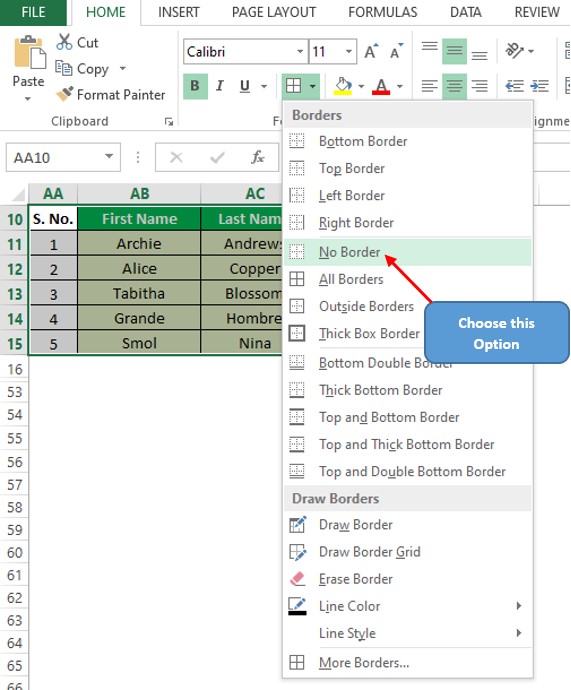
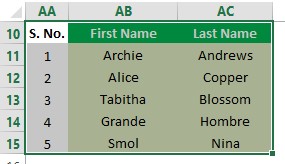
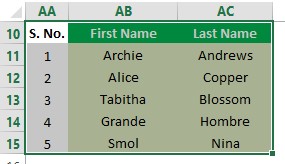
Within the list there shall be an option for ‘No Borders’ and one shall click on that, only to see that all borders have been removed from the selection as shown below.
Method 2 – The Hotkey Technique
Those who love to use their keyboard to get things done might just love this technique. The very first step of selecting all the cells whose borders ought to be removed remains the same in this technique too!
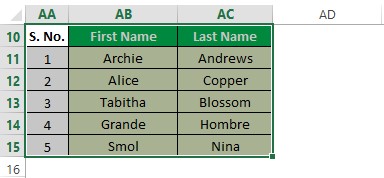
Hit the ALT key & there might be some visible changes around the Tabs of your active Excel file as shown below.
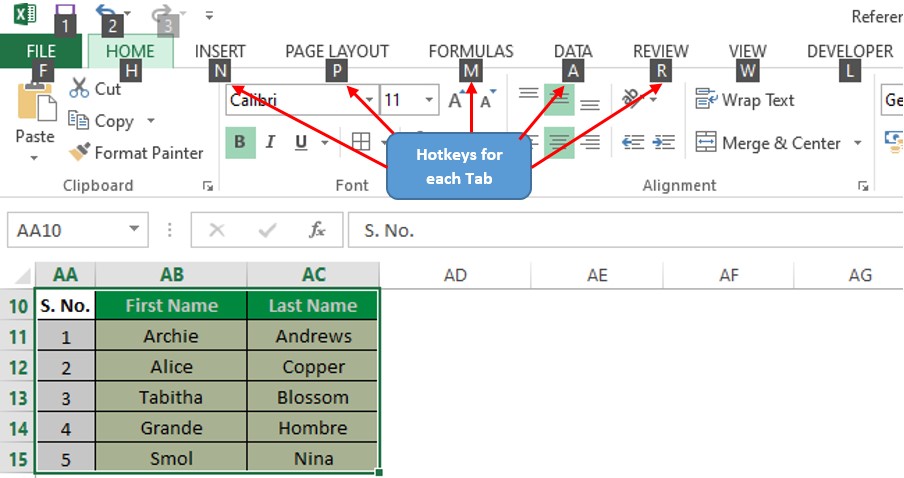
There would be alphabets appearing nearby each Tab & these are known by the name ‘Hotkeys’. Hit the hotkey ‘H’ for the Home Tab and the hotkeys for all the options within that tab will appear as shown below.
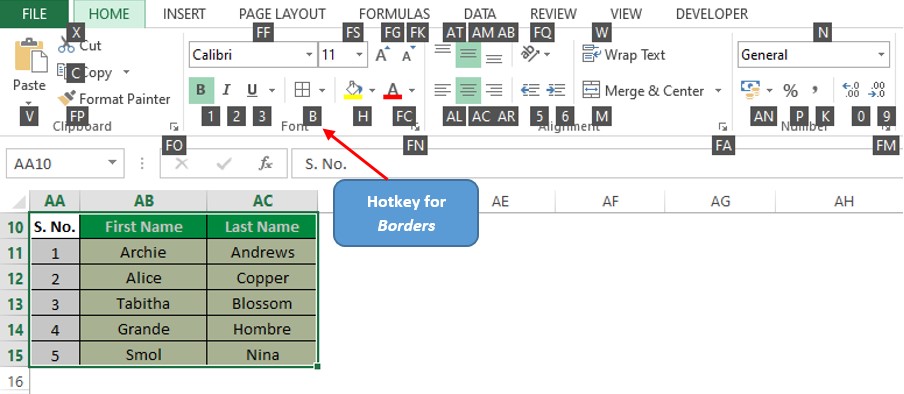
Hope now the reader might have already figured out where we’re heading. Yep! One shall now choose the hotkey ‘B’ for the ‘Borders’ option which would now open the drop-down list of options.
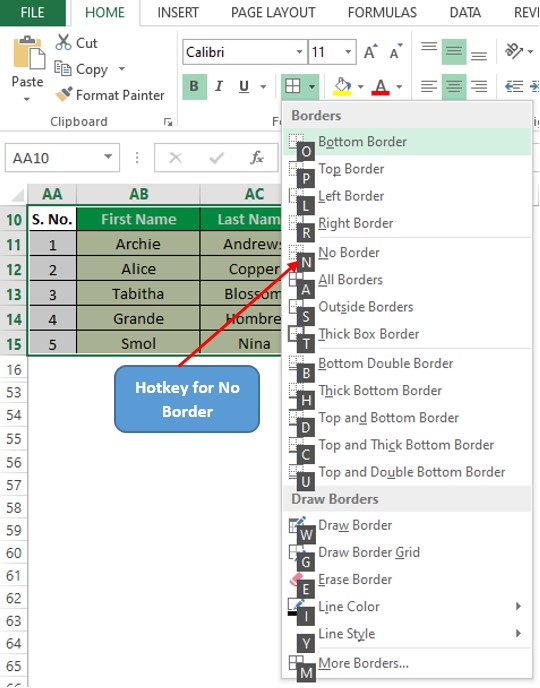
Hit the key ‘N’, which is the hotkey for the No Border option as shown in the above image & once done all the borders in the selected cells shall be removed instantly.
Conclusion
Now that we have got to the end of this article, hope it has given you, what you came looking for & helped you to get a hold of removing the lines in MS Excel. Here’s one which elaborates on how to draw a line in MS Excel. There are numerous other articles too in QuickExcel that can come in handy for those who are excited to learn more about the tricks and nuances of using MS Excel. Cheers!
