MS Excel is all about the position of the data with respect to rows & columns into which they were keyed in. Both the rows & columns are identified by the continuous numbering downwards & the alphabets going sideways respectively.
So the position of any given data within an Excel spreadsheet is depicted only by the location in which the numbers of the row & the alphabets of the column intersect. For instance, the location where row 1 & column A intersects is called A1. This is called the address of the cell.
Taking this into consideration, how about applying it for moving multiple columns in any given datasheet?
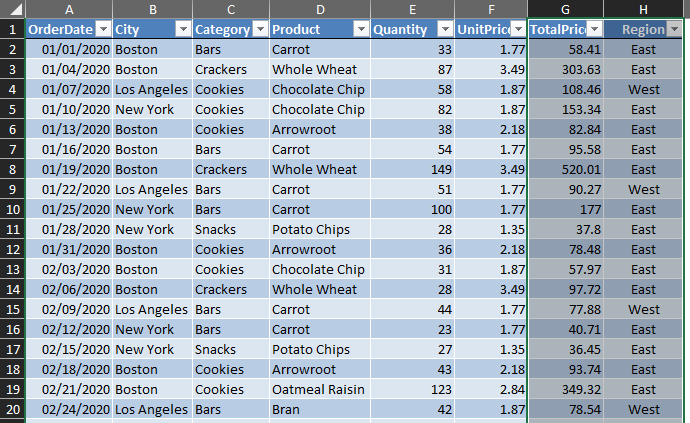
So, let us get started in exploring this feature of MS Excel in moving multiple columns while retaining all its features as is. Following is the dataset that we would be using in this article to demonstrate the steps to be adopted for moving multiple columns in the given dataset. We shall try moving the ‘Total Price’ & ‘Region’ columns to the rightmost end of the table.
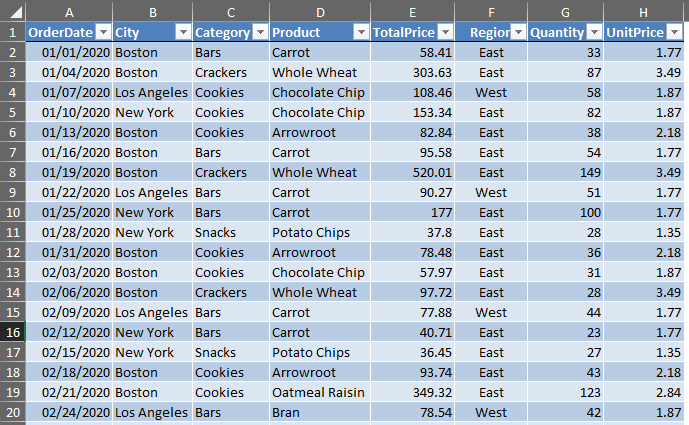
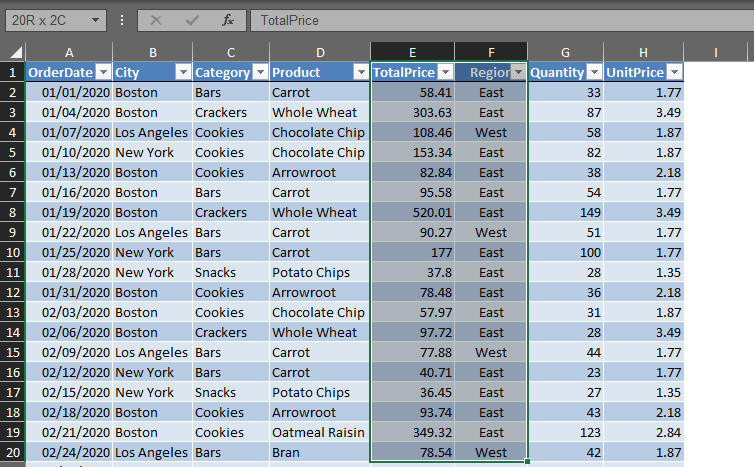
The very first thing to do is to select the entries that ought to be moved, which in this case shall be the cells under columns E & F. The selection can be done in either of the following ways,
- Drag & select using a mouse
- Select using Name Box
Dragging & selecting using the mouse is the oldest technique there is & this calls for one to be vigilant on the different disguises the cursor would be putting up!
Here’s what a normal mouse cursor would look like.

But the one we are after for moving the column would be the one below.

Selecting Columns using Mouse:
Now that we know which attire our cursor with mastery in disguise would be putting up, we shall now see when this shall appear on our screen. In order to do that, let us select the columns which we need to move. Left click on the very first cell of the range, E1 & drag the cursor without lifting the finger off the left mouse button all the way down to F20.
Selecting Columns using Name Box:
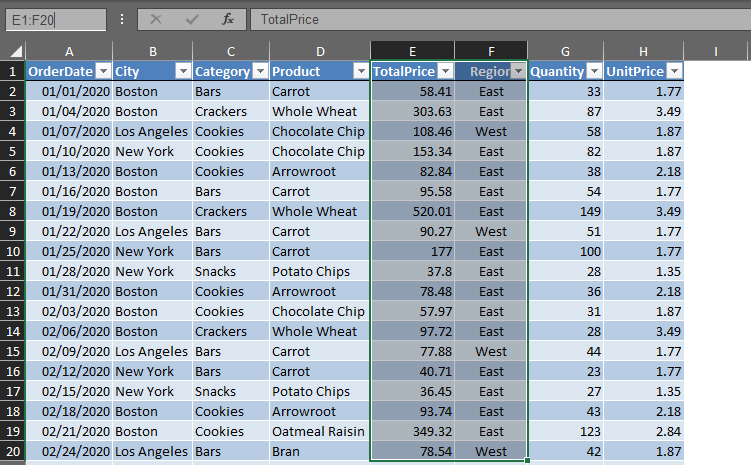
Having done with the classical left click & drag selection, it’s time that we explore the other infamous technique of selecting the columns using the Name Box. Here’s how it goes. Left click within the Name Box as shown below.

It is evident from the above image that cell A1 shown within the Name Box is the location of the active cell. We shall replace this A1 with the range which we need to select, which in this case would be from the cell E1 to the cell F20.
Type the same within the Name Box as E1:F20 with a colon in between. Including the colon is of prime importance since this only would tell Excel, ‘Hey! You’ve got to select not one, but multiple columns this time’. Once done, hit ENTER & the cells shall be selected in no time.
Moving the Selected Columns:
Now take the cursor and hover it across the boundary of the selected columns & the cursor changes its appearance as shown below.
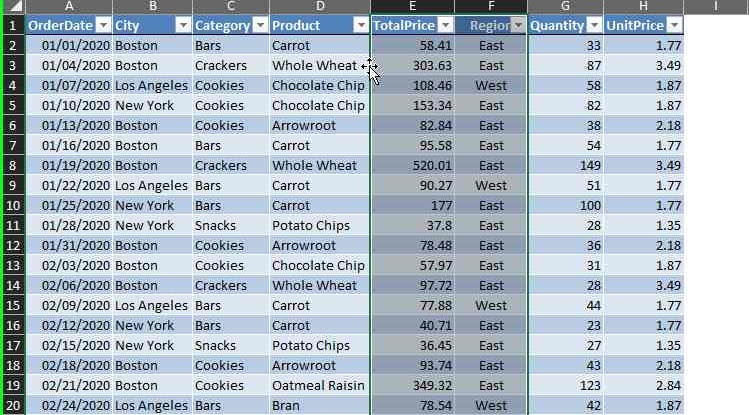
Left click on the very same position where the cursor appears as shown above & without lifting the finger off the left mouse button move it to the left until it becomes adjacent to column H.
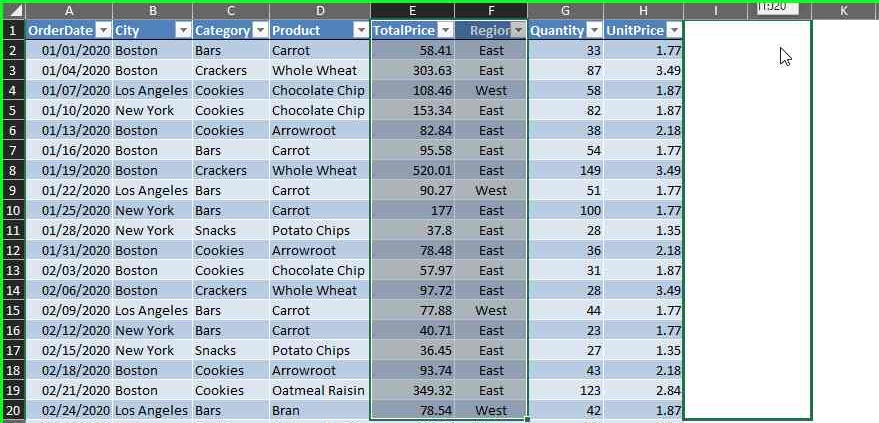
We are now good to take the finger off the left mouse button & the selected columns get replaced to the desired location simultaneously.
Conclusion:
Now that we have reached the end of this article covering the steps to move multiple columns in MS Excel, here’s one which elaborates on how to delete multiple rows in MS Excel. QuickExcel has numerous other articles too that can come in handy for those who are in looking to level up their skills in MS Excel. Cheers!
