Headers and footers in Excel are inserted across multiple products of Microsoft Office. You can also add headers and footers to Word documents.
This article is a step-by-step guide to adding, removing, and completely modifying headers and footers in an Excel file. We will also learn to add watermarks to an Excel worksheet in this tutorial.
So, read till the end to learn thoroughly about headers and footers!
Recommended read: How to Use VLOOKUP function in Excel?
How to Add or Remove Headers and Footers in Excel?
A header, once created, is reflected on every new page you create in Excel. Similarly, a footer is automatically added at the bottom of every page after you create it. Let’s learn to create both headers and footers in excel.
Adding a header and footer
- Open an Excel file.
- Go to the Insert tab.
- Pull-down on Text and select Header & Footer.
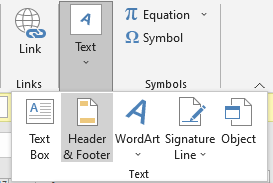
You can find that both headers and footers in your sheet are divided into 3 sections each. This allows you to add up to three header titles or footers to a sheet.
Removing or deleting a header and footer
To remove a header or footer, follow these steps.
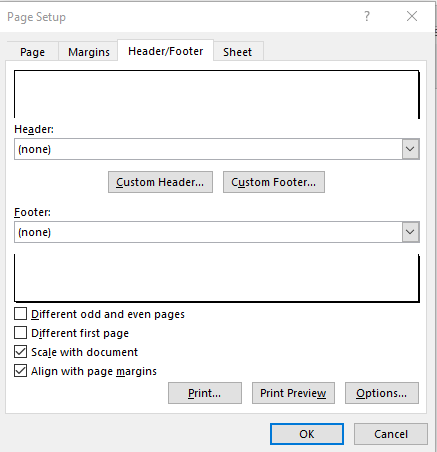
- Click on the cells in the sheet and not on the header or footer.
- Go to the Page Layout tab.
- Open the page formatting options by clicking the Page Setup icon at the lower right.
- Go to the Header/Footer tab and select (none) for both header and footer.
- Click OK.
You can now find that your headers have been removed from all pages in a sheet.
Another way to remove all headers and footers is as follows.
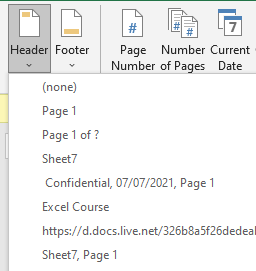
- Click on the header or footer.
- Go to the Design tab.
- Pull-down on Header and press (none) to remove the header.
- Pull-down on Footer and press (none) to remove the footer.
Different Ways to Use Headers and Footers in Excel
1. Adding custom or predetermined texts in header or footer
Let’s see how we can use and modify headers and footers in Excel.

- Let us name this new header and footer with our preferred name
- Click the header.
- Go to the Design tab.
- Under Header & Footer group, pull-down on Header.
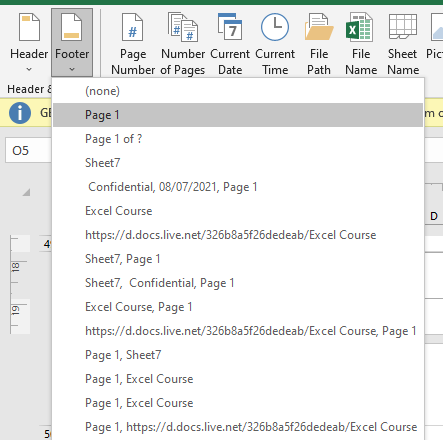
- Select a predetermined heading from this list if you cannot decide.
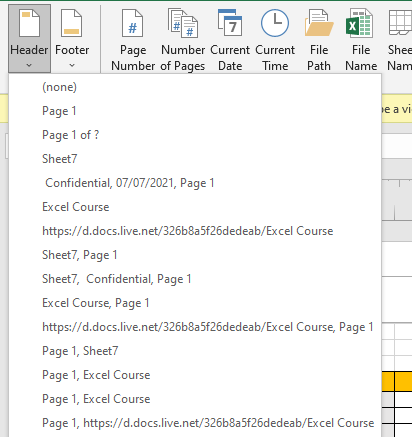
To add a custom or predetermined footer text, do as follows next.
- Click on the footer.
- Type a custom text you want in the footer, or
- Go to the Design tab.
- Under Header & Footer group, pull-down on Footer.
- Select a predetermined text from this list if you cannot decide.
2. Customizing header and footer texts
To customize the header or footer text, follow these steps.
- Select the header text.
- Go to the Home tab.
- Adjust font settings under Fonts group.
Any changes you make to the header get reflected on every single page in Excel. Let’s add some content to all three sections of the header.

You can see that we have created and two headings and inserted a page number in the right section.
3. Navigating between headers and footers in Excel
To navigate from the header to the footer or back, do as follows next.
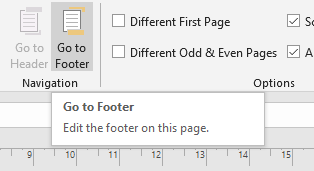
- If you’re in the header, then click on the header.
- Go to the Design tab.
- Under Navigation, select Go to Footer.
- If you’re in the footer, then click on the footer.
- Go to the Design tab.
- Under Navigation, select Go to Header.
This way you can easily navigate from the header to the footer and back.
4. Insert page numbers to header or footer
To add page numbers to headers and footers in Excel, do as follows.
- Click on any header or footer section you want to insert page numbers to.
- Go to the Design tab, under Header & Footer Elements, select Page Number.
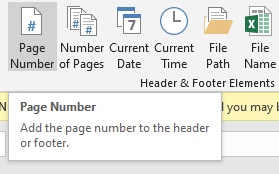
You can now see that page numbers have been inserted to all pages, and they change as you move to the next page in a sheet and only if there is any content present on the next page.

5. Inserting number of pages to header or footer
To add a total page count in the header or footer, do as follows.
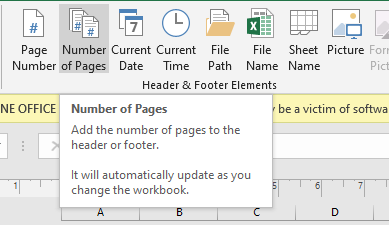
- In the Design tab, under the Header & Footer Elements group select Number of Pages.
- You can manually type “Pages” after &[Pages] for better understanding.

You can see that the header and footer now display the total number of pages.
6. Insert current date to header or footer
To insert the current date in the header or footer, here are the steps.
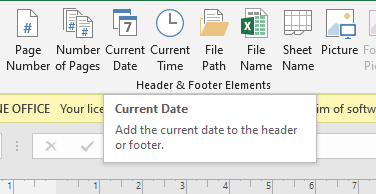
- In the Design tab, under the Header & Footer Elements group select Current Date.

You can now see the current date is displayed here in the footer.
7. Insert current time to header or footer
To insert the current time in the header or footer, do as follows.
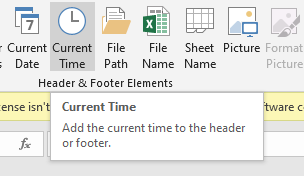
- In the Design tab, under the Header & Footer Elements group select Current Time.

You can now see the current time is displayed in the footer in the image above.
8. Inserting current file path or location to header or footer
To insert the current location of your Excel workbook in the header or footer, do as follows.
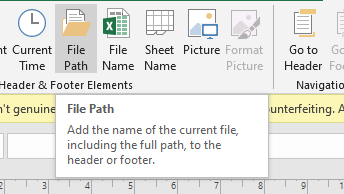
- In the Design tab, under the Header & Footer Elements group select File Path.

You can now see the file location or file path is displayed in the footer in the image above.
9. Inserting file name to header or footer
To insert the file name in the header or footer, do as follows.
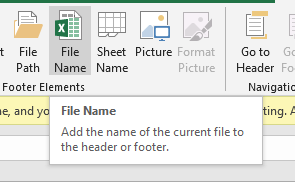
- In the Design tab, under the Header & Footer Elements group select File Name.

You can now see the file name is displayed in the footer.
10. Inserting sheet name to headers and footers in Excel
To insert the current sheet name in the header or footer, do as follows.
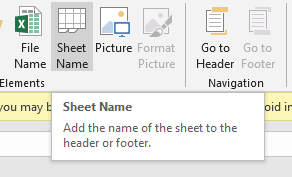
- In the Design tab, under the Header & Footer Elements group select Sheet Name.

You can now see the sheet name is displayed in the footer.
How to Add Watermark in an Excel Sheet?
You can easily add a watermark to your Excel worksheet and protect your data from being copied or stolen after getting printed.
You can add an image watermark in Excel to protect your data. Let’s learn it with the help of the steps below.
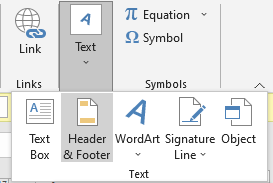
- Open an Excel file.
- Go to the Insert tab.
- Pull-down on Text and select Header & Footer.
- Click on the middle header section if you want to place the watermark in the middle of the sheet.
- Now, to add an image watermark, go to the Design tab.
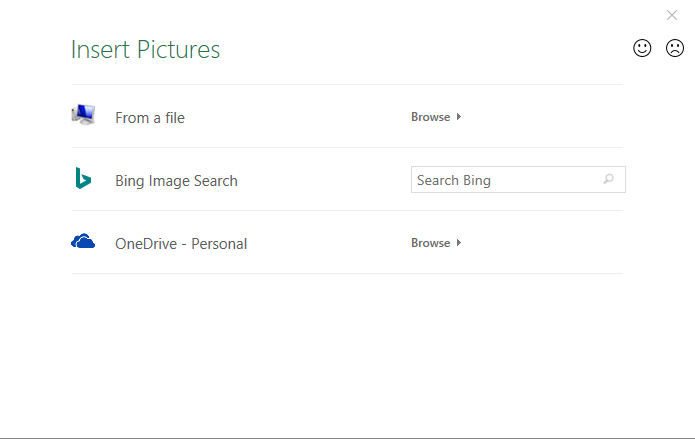
- Click on Picture, under the Header & Footer Elements group.
- A window named Insert Pictures opens where you can choose to upload an image from your system files, Bing image search, or your personal OneDrive account.
- Once you’ve selected your watermark image, this is what you will see in the header.

- Do not worry, this is normal. You can adjust the position of your watermark by pressing ENTER before &[Picture] until you reach the desired position, like this.
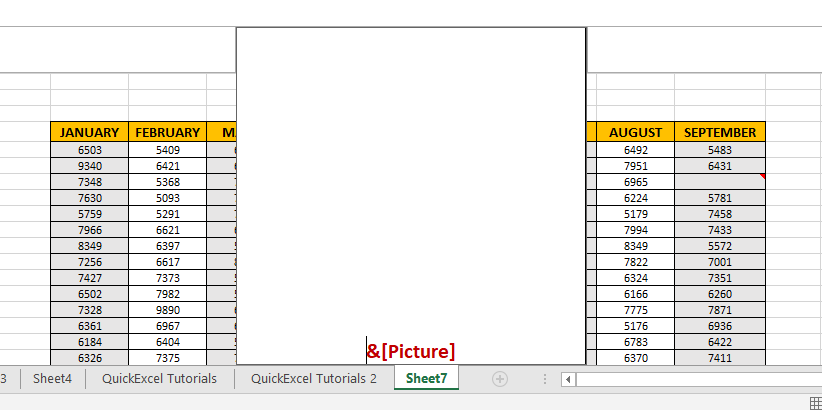
- Click outside the white box to view the image.
This is how our image watermark looks like after applying.
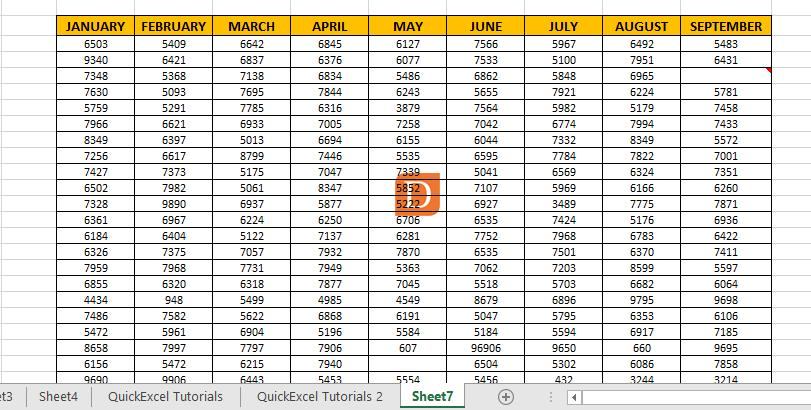
This image looks quite small, here are the steps to increase the size of your watermark in Excel.
- Click on the header section with the picture inserted.
- Go to the Design tab.
- Select Format Picture under Header & Footer Elements.
- A window named Format Picture opens where you can adjust the size under the Size tab.
- You can even adjust the brightness or transparency of your watermark under the Picture tab.
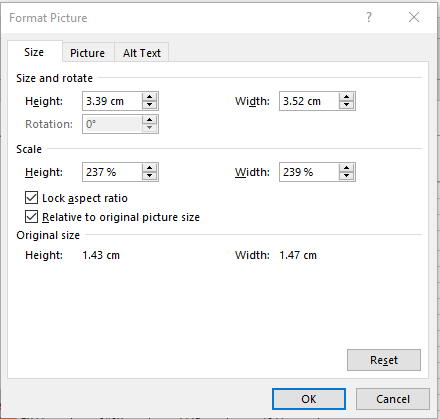
- Hit OK when you’re done.
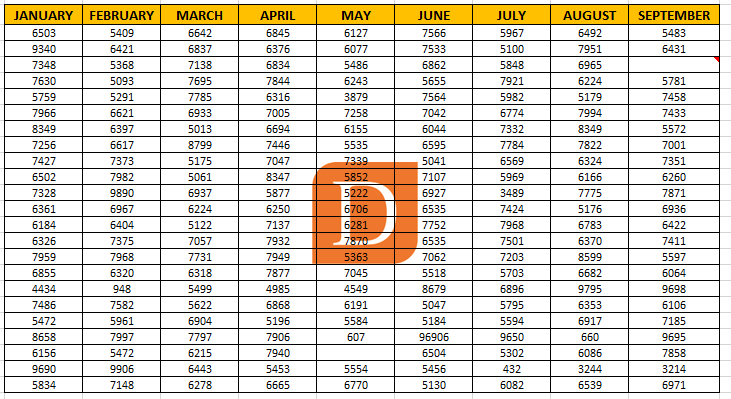
You can now see that the watermark has been resized to a larger size.
Conclusion
This article was all about adding, removing, and modifying headers, footers, and watermarks in Microsoft Excel. If you have any doubts regarding the topics discussed above, feel free to comment below, and we will help you out!
Reference: Microsoft
