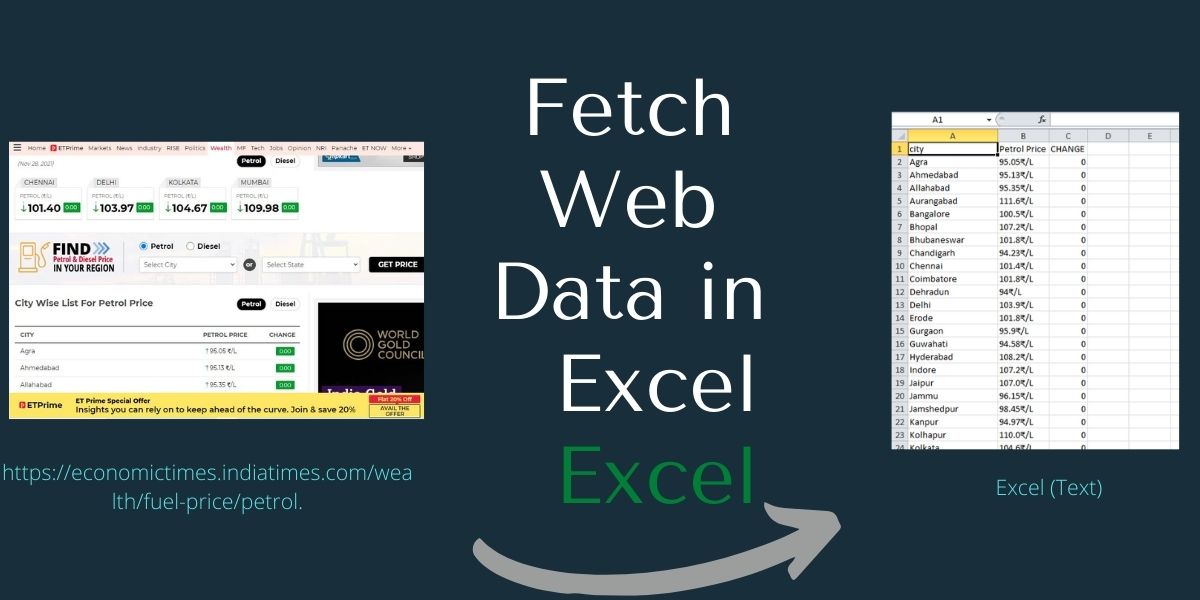
In this tutorial, we will show you different ways to fetch data from a website into excel automatically. This is often one of the foremost used excel features for those that use excel for data analysis work.
Follow the below step-by-step procedure to learn how to fetch data directly and skip the hassle of doing data entry manually from a website.
Extract Data from Website to Excel
Extracting data (data collection and update) automatically from a webpage to your Excel worksheet could be
important for a few jobs. Let’s see how you can do it.
Method 1: Copy – Paste (One time + Manual)
This method is the easiest as it enables direct data fetching in the literal sense.
To do so:
- Simply open the website from where we would like to seek information.
- Copy the data which we want to have in our Excel sheet
- Select the tabular column (or Cell) and Paste it to get the web data into your Excel sheet.
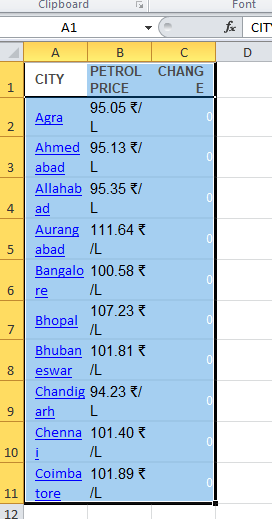
As this method fetches the data only once, the drawback of this method is that you simply cannot refresh the information fetched timely when the changes are made within the website then again you would require to repeat the above step to keep your worksheet updated.
Method 2: Realtime Data Extraction
We will be using Excel’s From Web Command within the Data ribbon to gather data from the website. Say, I would like to
gather data from the below page or URL: https://economictimes.indiatimes.com/wealth/fuel-price/petrol.
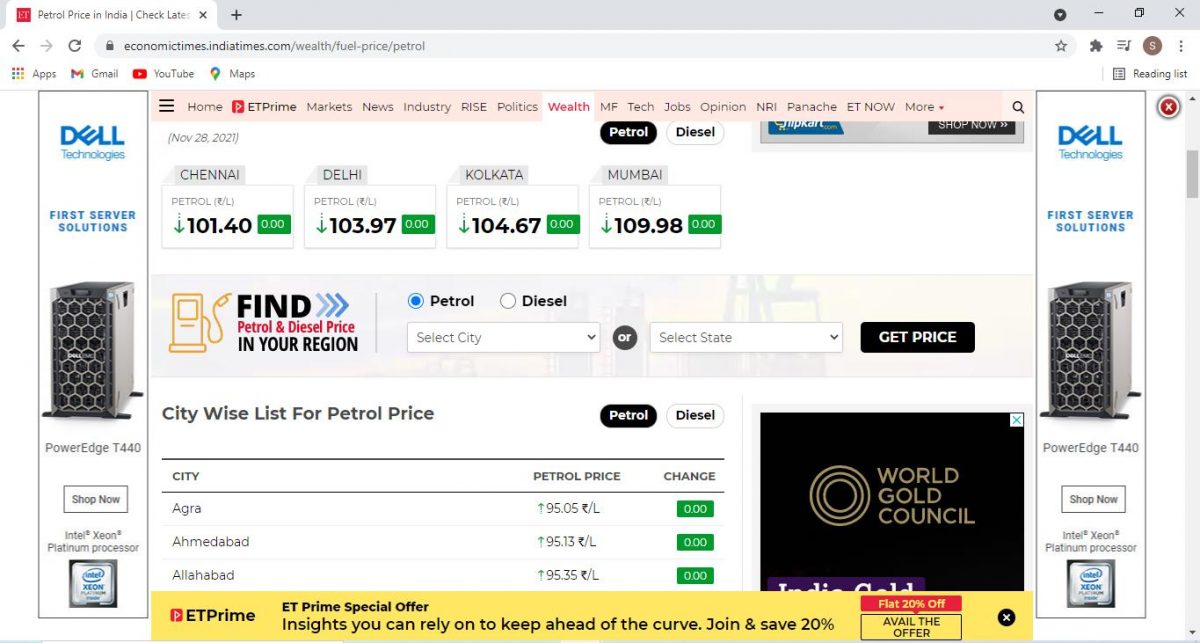
It shows the daily Petrol-Price’s for respective cities, all over India. To fetch the data directly into our Excel sheets we follow the below steps:
- In the Excel worksheet, open the Data ribbon and click on the From Web command.
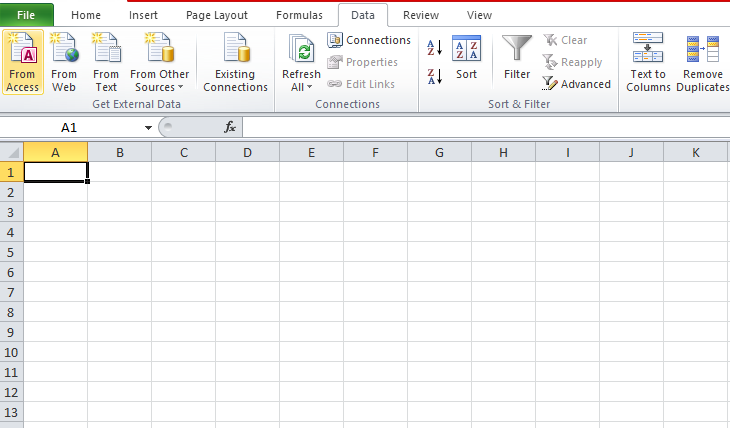
- A New Web Query dialog box appears
- In the address bar, I have pasted the address URL of our desired webpage (you must paste accordingly): https://economictimes.indiatimes.com/wealth/fuel-price/petrol.
- Then Click on the Go button, placed right after the address bar
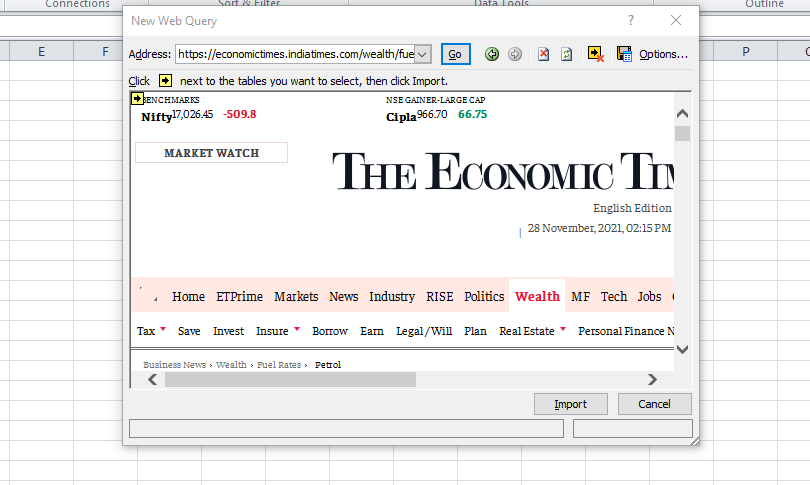
- The same website loads up within the new web query panel as a preview.
- Now spot the yellow arrows near the query box.
- Move your mouse pointer over the yellow arrows. You see a zone is highlighted with a blue border and therefore the yellow arrow becomes green on hover.
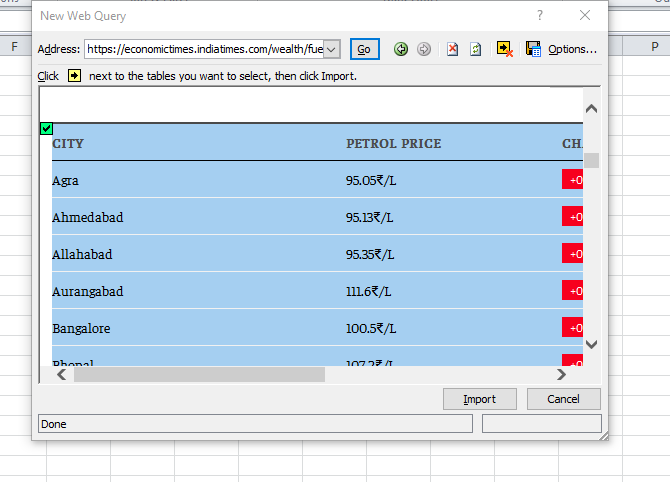
In our example, I have chosen the City wise petrol prices all over India.
- Now, Click on the Import button. Import Data panel appears. It asks about the location of importing the data, currently, I choose to reserve it in cell A1, but you may reserve it anywhere, in any cell of the worksheet.
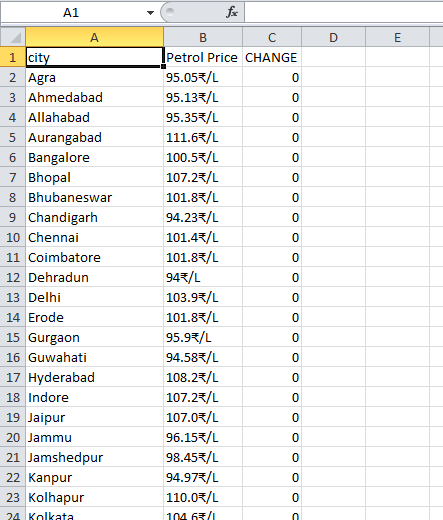
As we see now that the info required by us is inserted into the excel worksheet. Now as we’ve got the info we will make
changes as we would like as per our requirement.
NOTE:- The website should have data in a format like Table or Pre-data format. Otherwise, it increases the work because
then we need to convert the data into a readable or excel-able format which again is a bit hectic.
After all the text shown in the columns isn’t your ally. So, we shall assume your life is straightforward like that and you’ve got an internet site that has data in a compatible direct Excel readable format.
The other most important thing is that you need not have to update the data from time to time.
Refresh Excel data for Update:
You can manually or automatically refresh the data. To do so click on the drop-down button of the refresh all command.
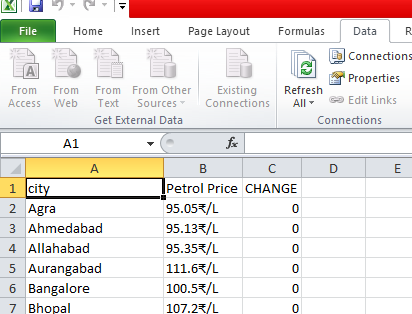
You can click on Refresh if you need just one cell to update and Refresh All if you want everything in the sheet to re-fetch data.
We can even set a period time for refreshing data automatically. Click on this Connection Properties option from the list.
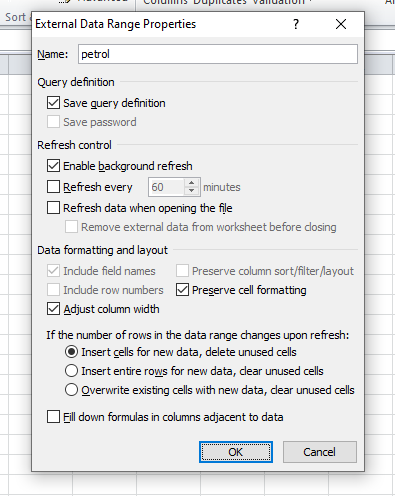
You can name the connection, add an outline too.
Under Refresh Control, you get a command Refresh every (by default 60 minutes), which is subject to configuration.
Conclusion
So that’s it for this tutorial, hope you’ve got understood the way to pull/extract the data from the website into an Excel
sheet.
