Excel is all about analysis! It contains a series of rows and columns into which information would be entered and then they would be converted or analyzed against the required metrics. But, ever wondered whether these rows and columns in Excel have any limits?
Do they ever go on and on when we add in data or is there a point when it tells, “Hey stop! No more data.”
We are going to find out how many rows are there in MS Excel in this article and would be using a blank worksheet as shown below for the purpose.
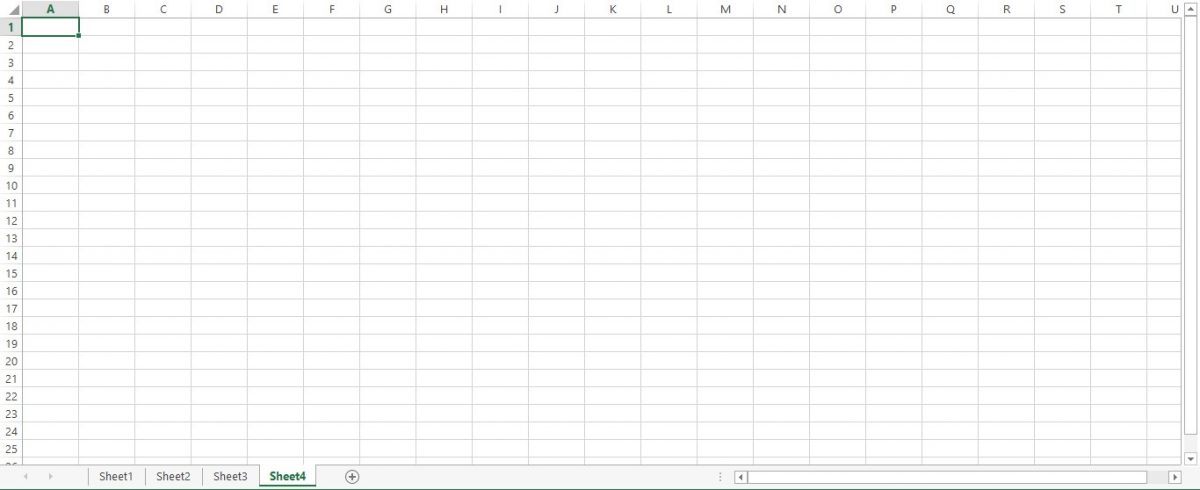
In the above image, along the topside, we could see alphabets ranging from A to U, but it does not stop there, rather it goes on further as we scroll toward the right. Those marked with the alphabets are called columns.
Whereas, we could also see numbers from the top starting from ‘1’ and running all the way down to ‘25’ at the bottom of this image. These marked with numbers are the rows. Similar to the columns, the rows do not stop at ‘25’, but go on further below as we scroll downwards.
So, the row number of the very last cell in MS Excel would answer the question of how many rows does MS Excel have? To find out just that we might use a couple of ways,
- Using the Scroll bar or the Mouse
- Using the Keyboard Shortcut
1. Using the Scroll Bar or the Mouse
In this method, we would be using the scroll bars to move through the worksheet of MS Excel. The scroll bars are identified in the image below.
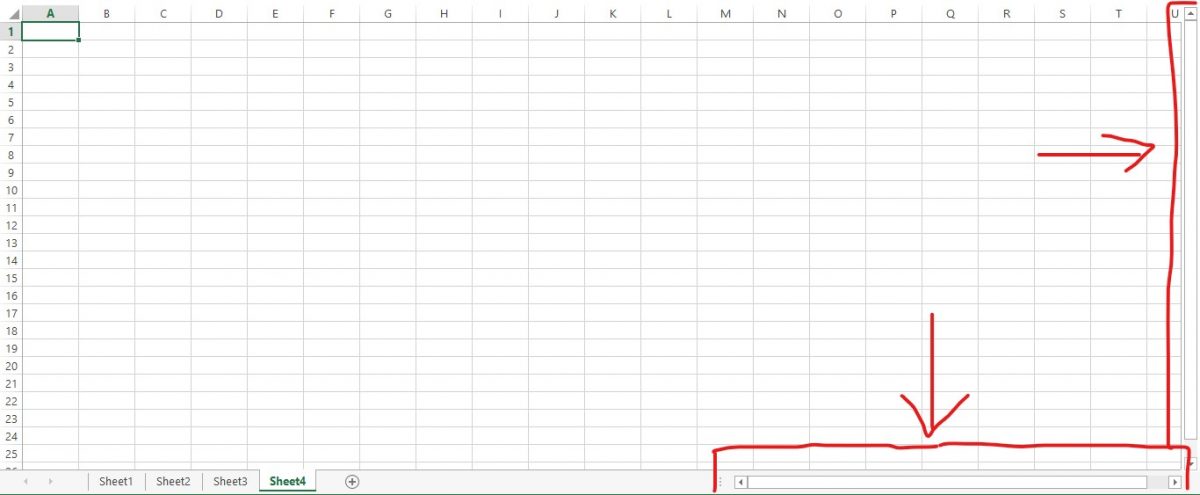
One can either press the down arrow button in the vertical scroll bar or use the middle button that rotates in the mouse to navigate to the bottom of the sheet.
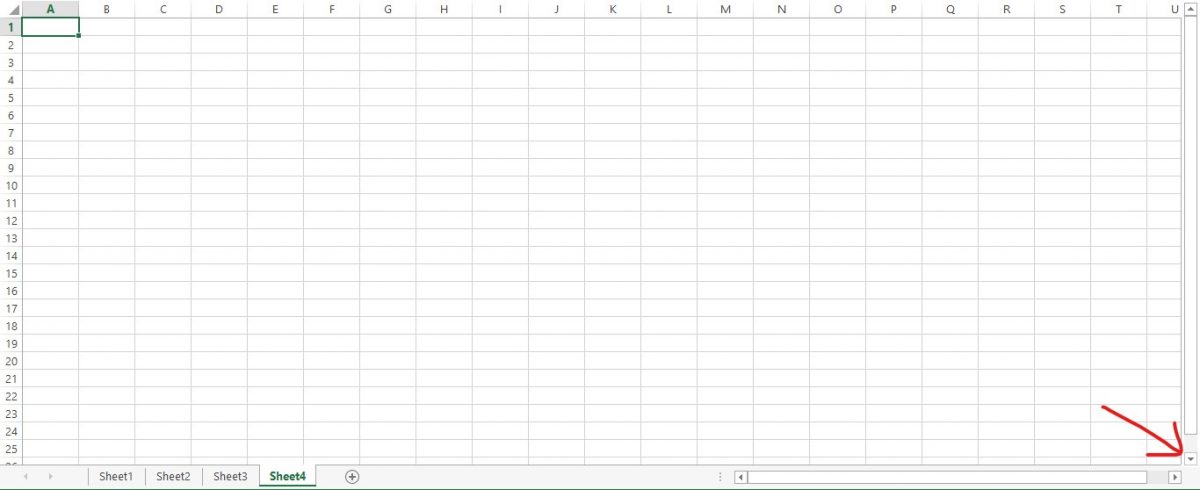
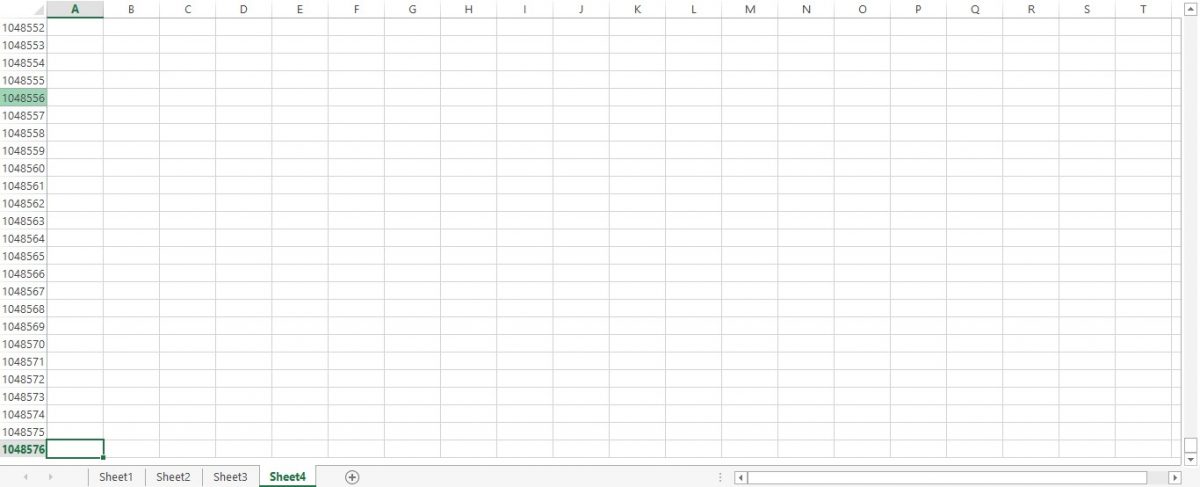
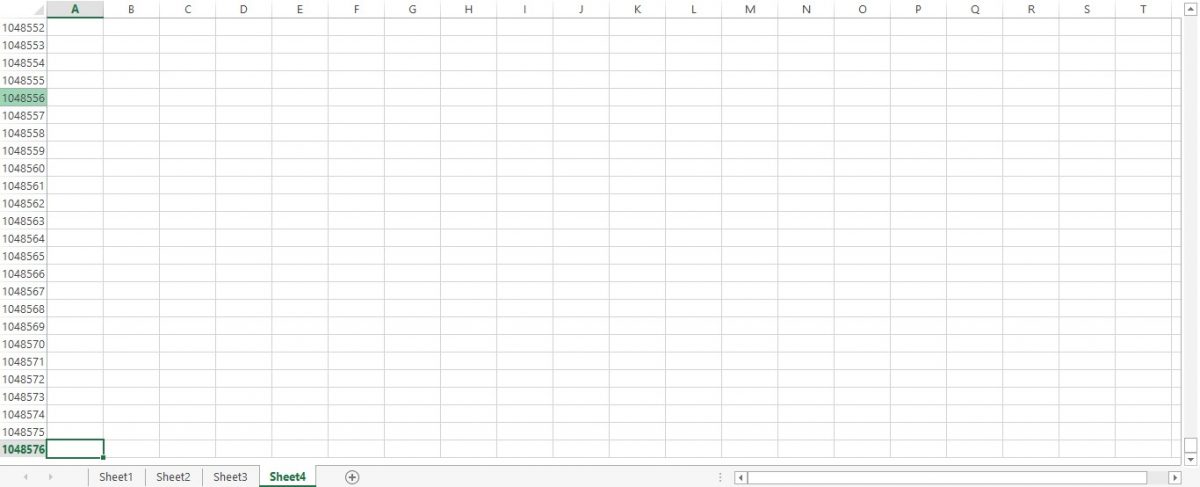
While doing it, one could see that the sheet no longer moves down after it reaches row number 1048576. So, there we have it, the total number of rows in Excel is 10,48,576 & how to get to it using the scroll bar or the mouse.
One can also use Pg Dn (Page Down) Key on your keyboard to move downwards within the sheet of MS Excel. Unlike moving from one cell to the other, which would be the case for the scroll bar or the mouse scroll, hitting this key would make the active cell jump from its current position to a cell that is far below skipping a number of cells in between.
2. Using the Keyboard Shortcut
In this method click on any cell on the worksheet. Now, press the CTRL key and without lifting the finger off that key, hit the down arrow (↓) key.
CTRL + ↓ (Down Arrow Key)
The focus here is to be on pressing these keys one after the other since pressing them at the same time would only make sure that this shortcut does not work the way we intend it to. Once done, one could see that the cursor has swiftly moved to a cell in the very last row of that sheet as shown in the below image.
Conclusion
Now that we’ve covered the different ways to find out how many rows are there in a worksheet of MS Excel, do check this article which covers how to select all the sheet’s contents in MS Excel.
To keep yourself updated with more such tricks and tips for using MS Excel, do watch out for our space, QuickExcel. Cheers!
