Let’s learn how we can convert Excel to PDF in an easy step-by-step manner. Often one needs to share Excel files with others over the Internet. Sharing as PDF is one of the widely-used and most reliable ways of sharing documents as the document format is maintained and it works on almost any operating system currently in use.
2 Easy Ways to Convert Excel to PDF
There are two easy methods to Convert Excel to PDF as discussed below:
1. Using “Save As” to Save Excel as PDF
- Open the workbook.
- Click on the File tab and select Save As option.

- Click Browse to open the Save As dialog box.

- In the Save As dialog box, choose a location to save the file. Type the file name in the File name text box.
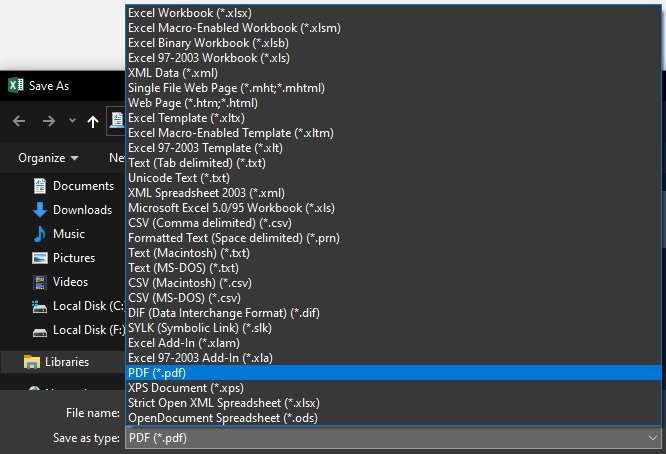
- From the Save as type drop-down list, select PDF.
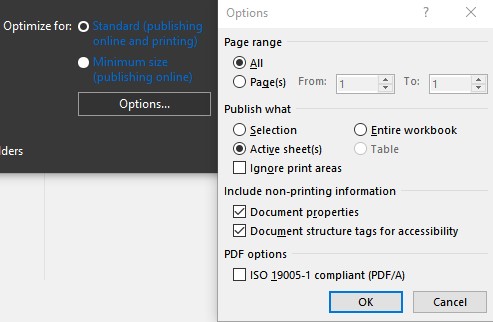
- Click on Options to choose what you want to save and click on OK.
- Then, click on the Save button to save the Excel file as a PDF.
2. Using Export
- Open the workbook.
- Click on the File tab and select the Export option.

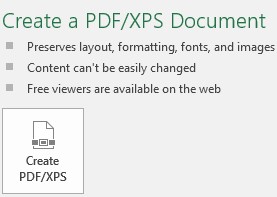
- Select Create PDF/XPS Document from the options available.
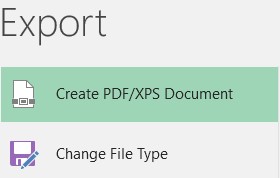
- Press the Create PDF/XPS button to open the Publish as PDF or XPS dialog box.
- In the Publish as PDF or XPS dialog box, choose a location to save the file. Type the file name in the File name text box.
- Click on Publish button to export the Excel file as a PDF.
Conclusion
Converting Excel files to PDF is a common task and can be easily done using the two methods discussed in the article.
