Do you want to make your Excel workbook look attractive? Do you want to spice up your reports by inserting gorgeous icons, word art, text boxes, and more? Then this tutorial is made for you!
Also check: Fully Automated Cashbook in Excel [PART 1]
Steps to Beautify your Excel Workbook
This article is a detailed guide to changing themes and appearances of elements in Microsoft Excel. We will illustrate applying dark or light themes, changing sheet colors, adding a background, word art, shapes, and icons, and more in Excel.
1. Applying dark or light themes
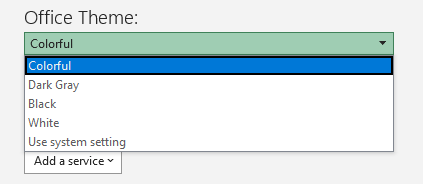
Here are the steps to apply dark or light themes in an Excel workbook.
- Open an Excel workbook.
- Go to the File tab.
- Click Account on the left.
- Hover to the Office theme option.
- Choose Dark gray or Black for a dark theme.
- Choose Colorful or White for a light theme.
- Choose Use system settings to apply the theme based on your Windows settings.
2. Changing the background pattern
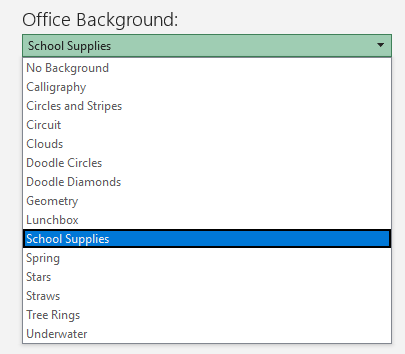
To change the background pattern in Excel, follow the steps below.
- Go to the File tab.
- Click Account on the left.
- Hover to the Office background option.
- Choose a pattern you want to apply.
- Choose No background if you want to remove the background pattern.
Changing the background color of cells
To change the color of the worksheet or the background color of cells, follow these steps.
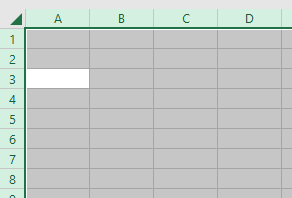
- Click on the triangle icon on the top left corner to select the entire sheet.
- Or, press CTRL+A to select all.
- Go to the Home tab.
- Open the paint bucket icon and choose a color you want to apply in the background.
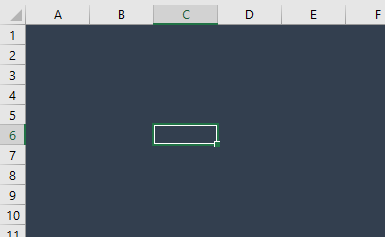
Note that applying color in the background will hide the gridlines in the workbook. If you want to view the gridlines, remove the background color by pressing No fill.
3. Changing gridline color
To change the color of your grid lines, follow these steps.
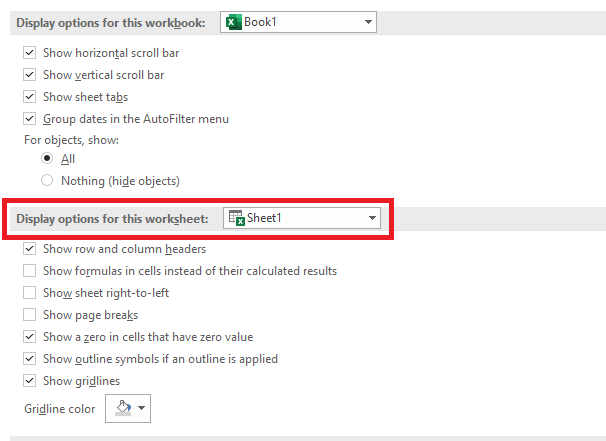
- Go to the File tab.
- Click on Options.
- Or, click on More and then click Options.
- Click on Advanced on the left.
- Scroll down until you find the Display options for this worksheet title.
- Show gridlines should be checked.
- Select a gridline color from the color pallet.
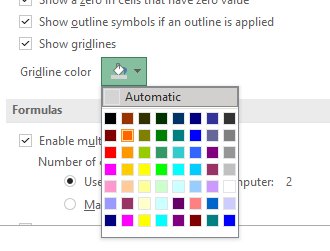
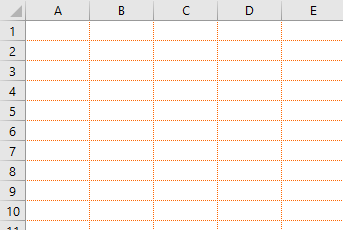
4. Apply background-color without hiding gridlines
If you want to apply a background color without hiding the gridlines, then follow the steps below.
- Search for an image of the color you want on the web.
- Or, open Paint and apply a color you want on the plain sheet and save it on your system.
- Open an Excel workbook.
- Go to the Page Layout tab.
- Click Background.
- Browse and select the image from your system and click Insert.
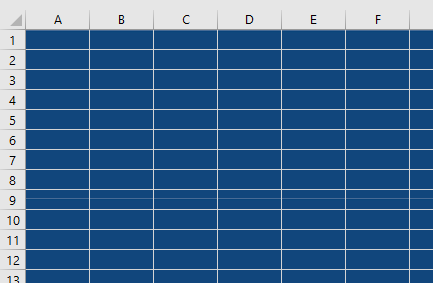
You can see the background color without hiding the gridlines. You can also add a custom image in the background in the same way.
- Click Delete background to remove the background image.
5. Inserting shapes, icons, images, and 3D models
To insert pictures, icons, and images in Microsoft Excel, follow the steps below.
- Go to the Insert tab.
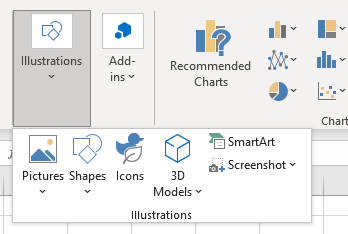
- Pull down on Illustrations.
- Choose Pictures, Shapes, icons, or 3D models based on your choice.

- You can insert images from the web or your device.
- Click and draw the shapes you like on the sheet.
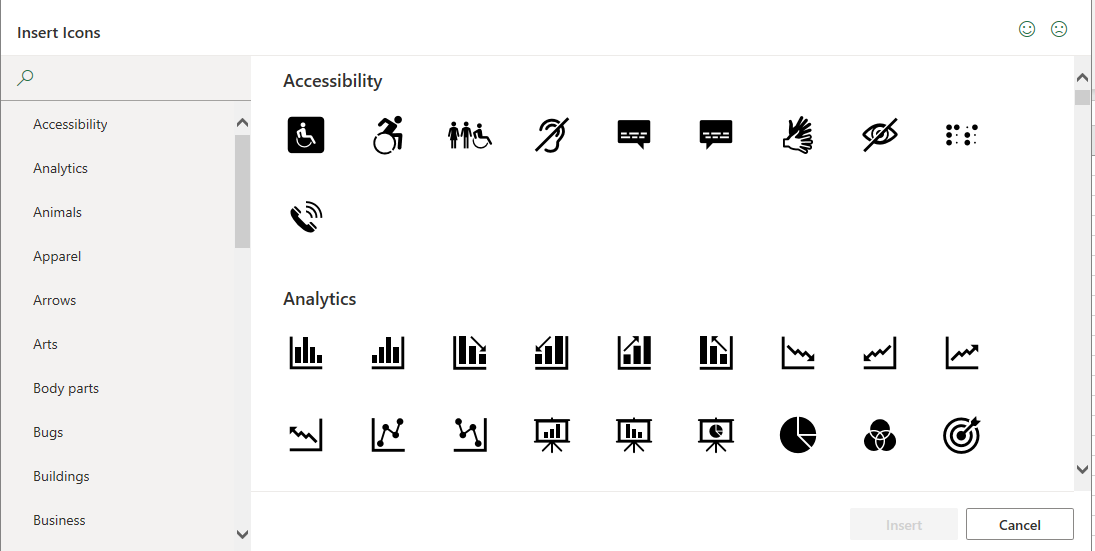
- Select and insert icons from a variety of categories or search for an icon you like.
- Insert 3D models from a variety of categories and beautify your worksheets. You can also insert custom models from the web or your device.

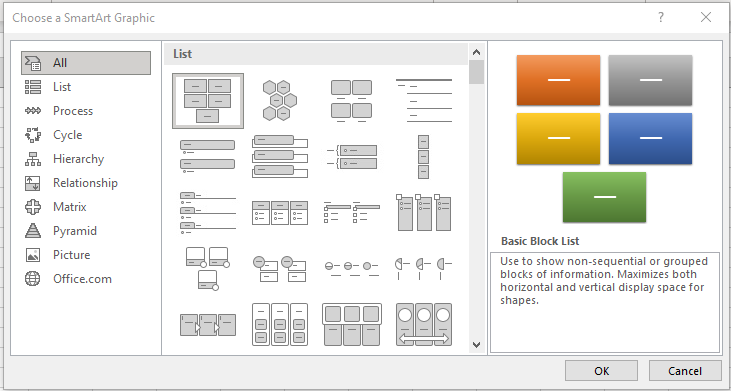
- You can also insert screenshots and smart arts in Excel worksheets for better pictorial representation.
6. Inserting word arts and text boxes
To insert stylized texts and word art, follow the steps below.
- Go to the Insert tab.
- Pull down on Text.
- Click WordArt.
- Select a text style you like and type in a custom text in the textbox.

To insert a textbox in an Excel workbook, follow the steps below.
- Go to the Insert tab.
- Pull down on Text.
- Click Text Box.
- Draw a text box in the sheet and type a custom text.

- Adjust the text color, size, and font from the Home tab.
- Go to the Shape Format tab and click on Quick Styles to apply word art to the text in the text box.

- For more text box customization, right-click on the border of the and click Format Shape.
7. Inserting sparklines in a workbook
Sparklines are similar to charts that represent numerical as graphs or trendlines. The difference between charts and sparklines is that sparklines can be inserted within a cell in a table. These are used for minimalistic data representation in Excel.

Here are the steps to insert sparklines in Excel.
- Go to the Insert tab.
- Under the Sparklines group, choose a sparkline style.
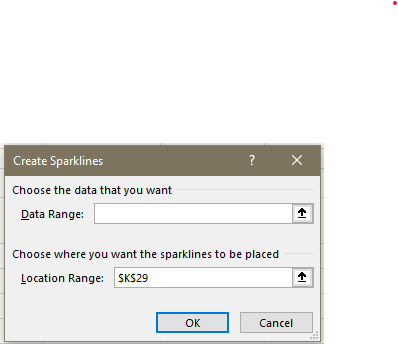
- Choose the range of numerical data you want to represent.
- Choose a cell where you want the sparkline to be placed.
- Click OK.
Conclusion
This article is a detailed guide to changing themes and appearances of elements in Microsoft Excel. We illustrated applying dark or light themes, changing sheet colors, adding a background, word art, shapes, and icons, and more in Excel.
