Want to transfer some data onto a specific location? Want to give references to build a formula? Want to turn a list of data into a Table? Want to generate a non-verbal interpretation of the available data?
It is an obvious need to select cells when we need to start with any operation that would handle data. These operations may range from a simple copy & paste all the way to performing complex analysis using pivot tables & slicers. In this article, we shall explore the different ways to select a wide range of entries in a spreadsheet. So, let’s get started!
Listed below are the different methods of getting the job done.
- Using the Mouse
- Using the Keyboard
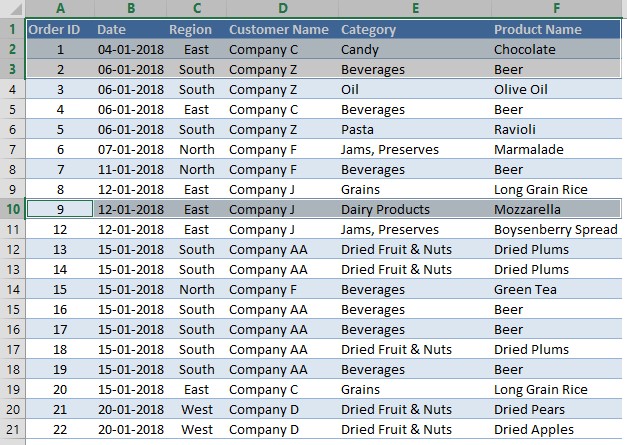
We would be trying to select the contents of the following table using each of the above-listed methods.
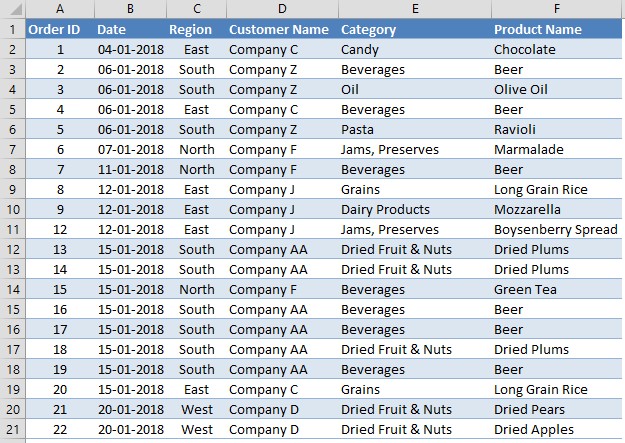
1. Using the Mouse
It all starts with a gentle click upon the cell which would serve as a starting point for the multiples of cells that are to be selected later. Click on that cell using the left mouse button. In this case, we would be clicking at the very start of this tabulation, which would be the cell ‘A1’.
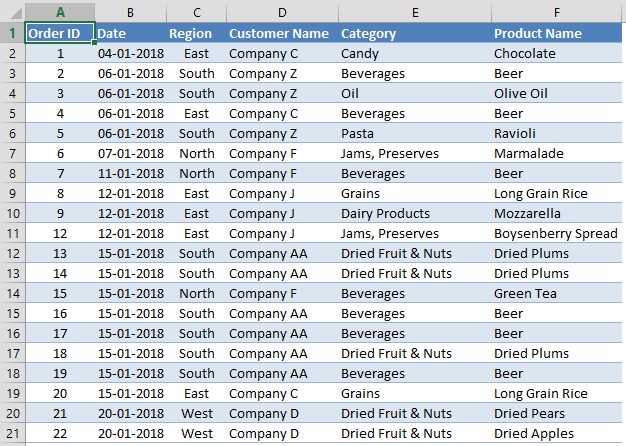
Suppose, if we need to select all the headers in this tabulation and then all entries corresponding to the Order IDs 1, 2 & 9, what we would be needing to do is to perform the following sequence.
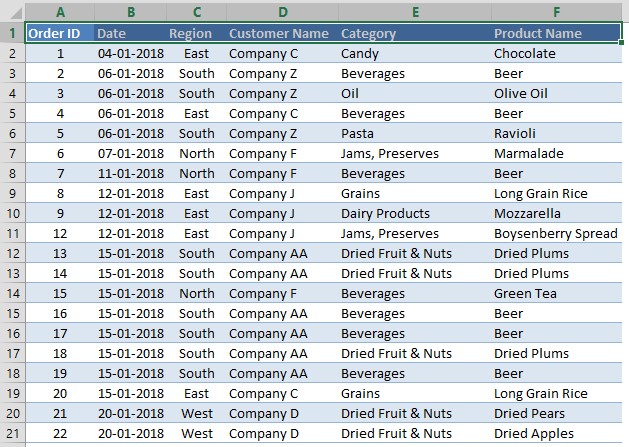
Click on the cell ‘A1’ using the left mouse button and without raising that finger which is pressing it, drag the cursor towards the left until it reaches the cell ‘F1’ which serves as the last title amongst the headers.
There shall be a similar result to the below image, but do not lift that finger off the left mouse button, not yet!
Now, let’s drag the mouse downwards until it reaches cell ‘F3’ which would cover all the entries for Order IDs 1 & 2. Now comes the breathing space, the finger pressing the left mouse button can be lifted off & you can relax for a while.
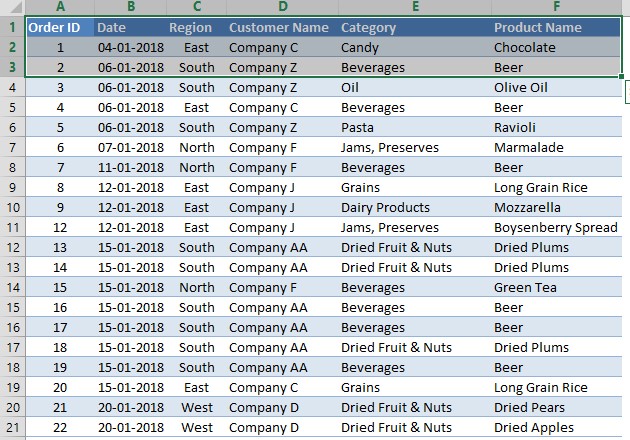
Ding ding! Relaxation’s over & let’s get on with selecting Order ID 9. Oh! Is it not immediately below Order ID 3? What shall we do in this case?
Knock knock!
Who is this?
Control!
Control who?
Control key to help with your selection, that’s who!
Hit that CTRL key & click on that the very first entry belongs to the Order ID 9, which is the Order ID itself in cell ‘A10’. Now, don’t lift that finger off the left mouse button, we aren’t done yet!
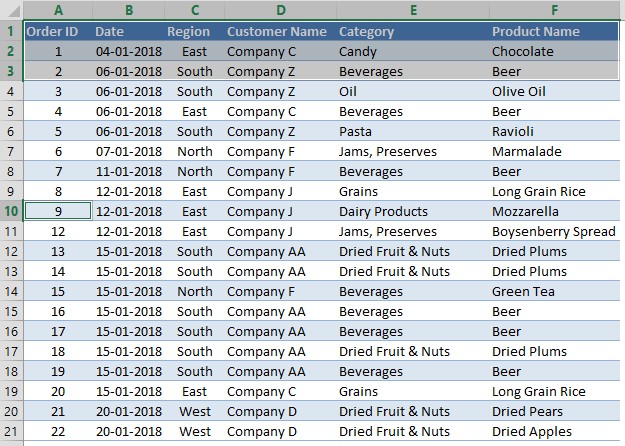
Drag the mouse till the cursor reaches the last entry corresponding to Order ID 9 which is in cell ‘F10’.
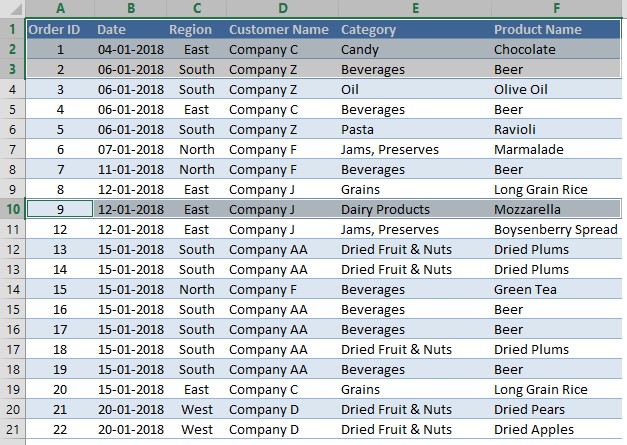
So, now we have selected multiple cells on a given set of data, even those which aren’t next to each other, using the mouse.
2. Using the Keyboard
Now we shall repeat the same exercise which we did above, but this time with the predominant usage of the keyboard. So, let’s get to it, shall we?
The very first cell here to be selected here is the cell ‘A1’, using the CTRL key in combo with the arrow keys we shall reach there in no time.
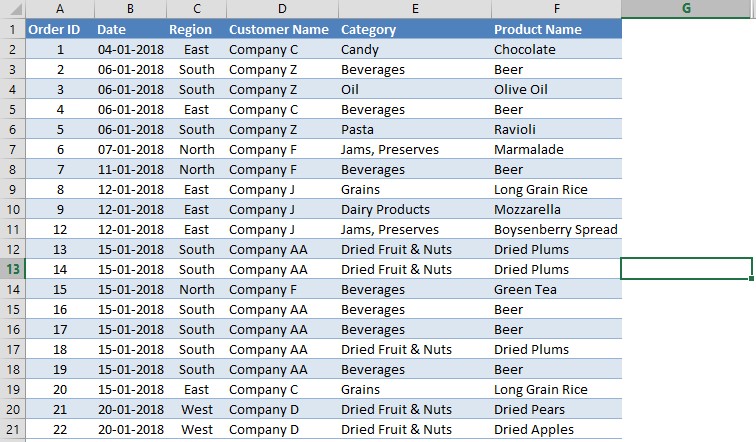
Now first press CTRL & without lifting the finger off it, press the left arrow key until it takes you to the leftmost cell in column A of whichever row your cursor might be.
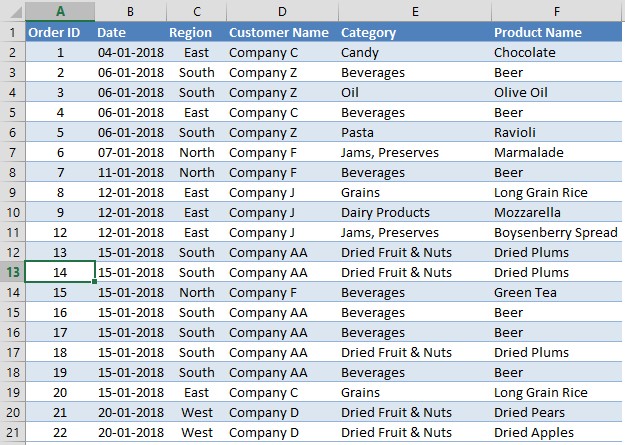
Once done, take the finger of the left arrow key (←), but not the CTRL-key. Now, you’d be needing to press the up arrow key (↑) & the cursor would move to the very first cell of column A which is ‘A1’.
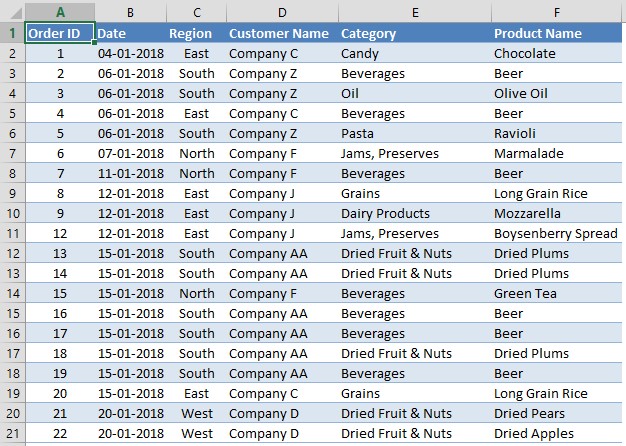
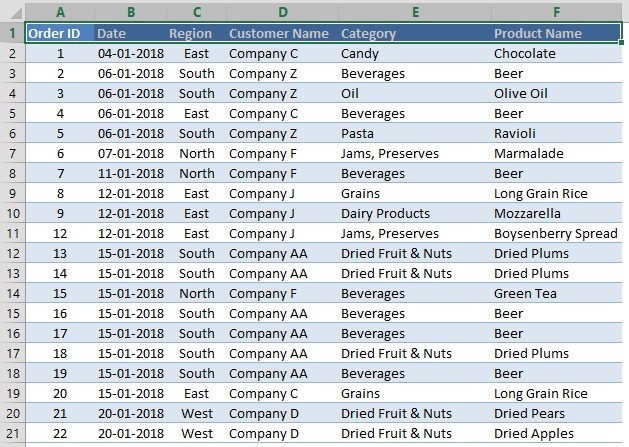
A combination of CTRL, SHIFT & arrow keys would be needed now to do the selection. Press CTRL and then SHIFT key. Make sure that both keys remain pressed & now hit the right arrow key to select all the headers.
CTRL + SHIFT + Right Arrow Key (→)
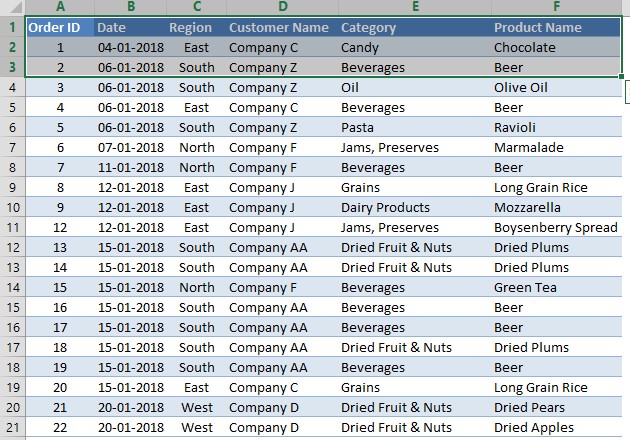
Keep the CTRL & SHIFT keys pressed and now hit the down arrow key (↓) until all the entries corresponding to Order IDs 1 & 2 are selected.
CTRL + SHIFT + Down Arrow Key (↓)
Now take the finger off the SHIFT key, but the CTRL key remains pressed. With a little bit of help from the mouse, click on the cell ‘A10’ containing Order ID 9.
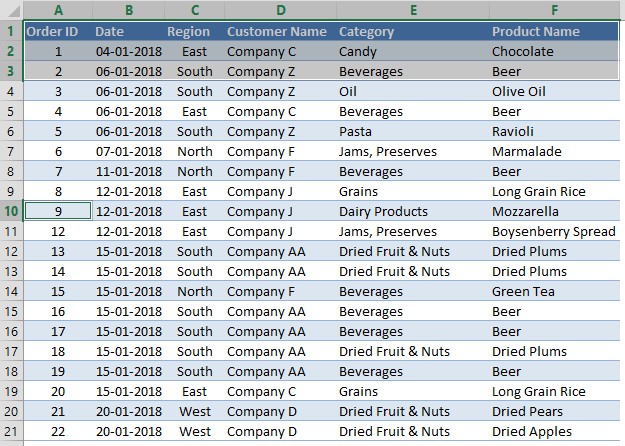
Once done, with the CTRL key remaining in the pressed state, press again the SHIFT key. With these 2 keys pressed, hit the right arrow key (→) to select all the corresponding entries of Order ID 9.
CTRL + SHIFT + Right Arrow Key (→)
Conclusion:
Hope you would have found this article on selecting multiple cells in a spreadsheet useful. Either of these methods can be put into practice corresponding to the specific requirements arising at the time of need. The logic is the same whether multiple entries needed to be selected horizontally across the rows or vertically across the columns. Do watch out for our space, QuickExcel to keep yourself updated with MS Excel. Cheers!
