A picture is worth a thousand words. So today we’ll learn how to insert images in Excel. You cannot directly copy an image into Excel. This is why, we will talk about the steps to insert pictures and add illustrations to your Excel sheet.
Also read: PDF in Excel: How to Insert PDFs or Save an Excel File as a PDF
Steps to Insert Images in Excel
Follow the below step-by-step tutorial to insert an image in Excel.
Step 1: Navigate to the insert tab
- Navigate to ‘Insert‘ from the top options tab
- Click on ‘Picture‘ to open an insert image dialogue box
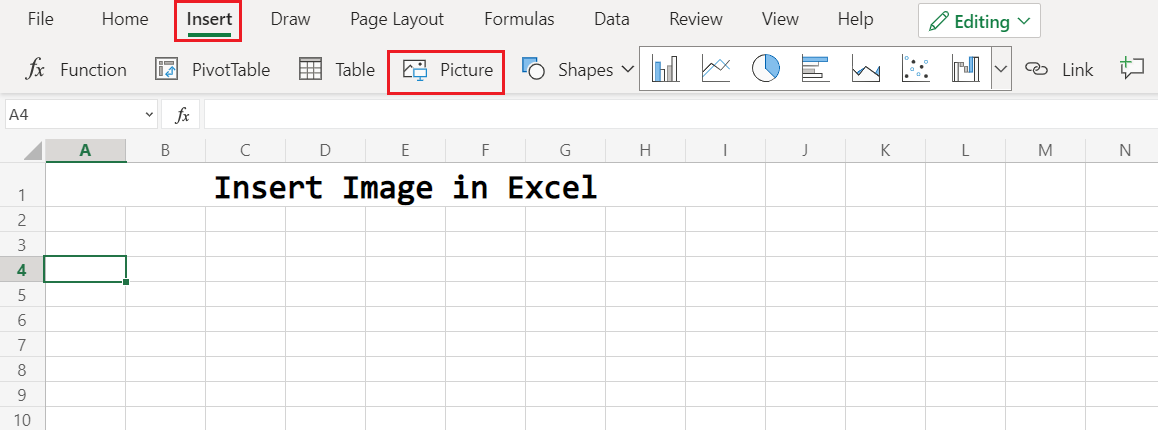
Step 2: Click Insert Image
- From the pop-up dialogue box – click on ‘Choose File‘ to choose the image which you want to insert.
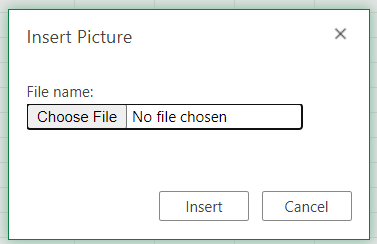
Step 3: Choose an Image from the File
- After selecting ‘Choose File’ from the pop-up dialogue box
- You will be presented with an ‘open’ pop-up window
- Navigate to the folder where your image is located and then select it
- Click ‘Open‘
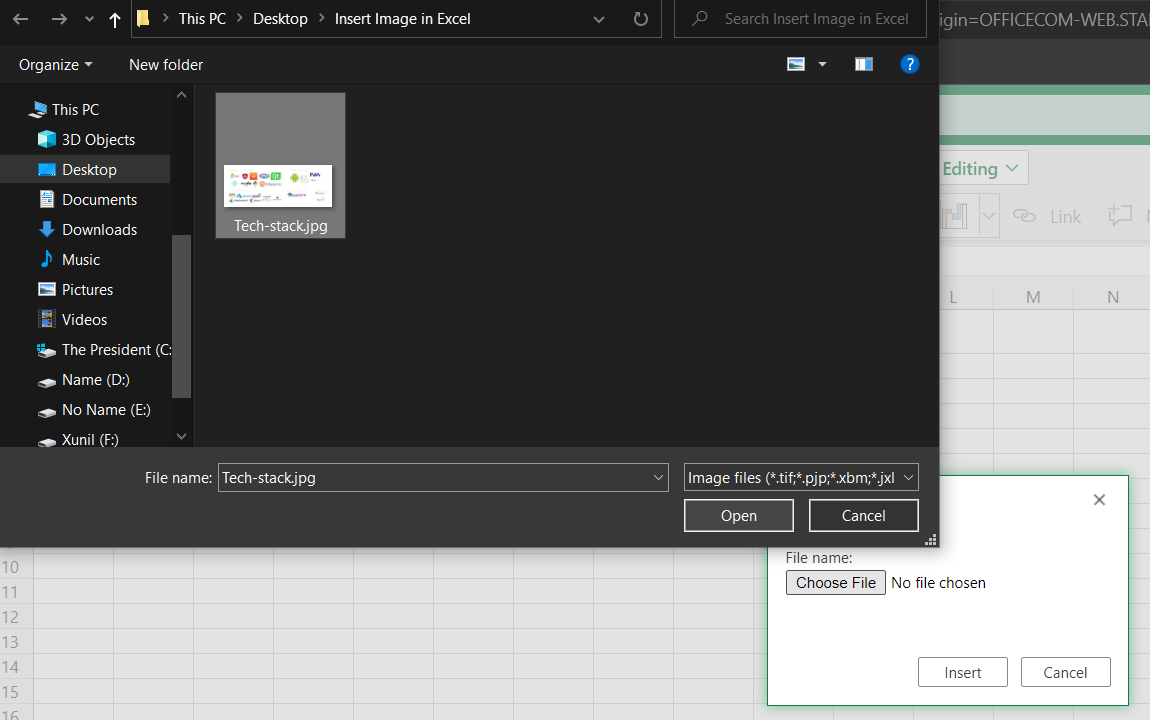
- Now, click on Insert to finally insert the selected image in your Excel sheet.
Modify Inserted Image in Excel
Now, as you have inserted the image/picture in your Excel sheet, you can perform some modifications to its position, size, and format.
1. Change Position of Image
To change the position of the inserted image, simply click on the image and drag the image to any position or place inside the sheet.
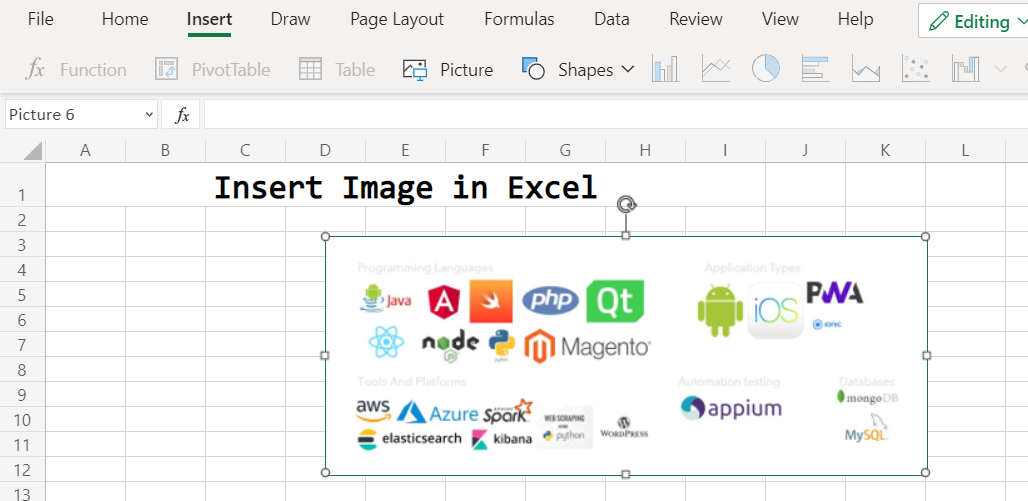
2. Resize the Image
- Hover over the image to reveal resizing options at the border of the image
- You’ll be presented with all sorts of resizing – length, breadth and combined
3. Adding Alt Text
Alt text or Alternate text is a valuable addition to any image, it describes the purpose and title of the image used in text format to both users and search engine bot crawlers.
- To add Alt text, double click on the image, to reveal an option pop-up
- Select Alt Text to add, Title and Description to your image
Conclusion
That’s It! You can now easily insert images in Excel to make it look more appealing and interactive. We hope you learned and enjoyed this lesson and we’ll be back soon with another awesome Excel tutorial!
